How to: Ever wondered how to make arty double exposure style edits?.
By: @kerry_fin
.
.
.
.
Help is at hand.. I’m going to share with you, some tips and tricks, that I have found to be the best way to create them.
.
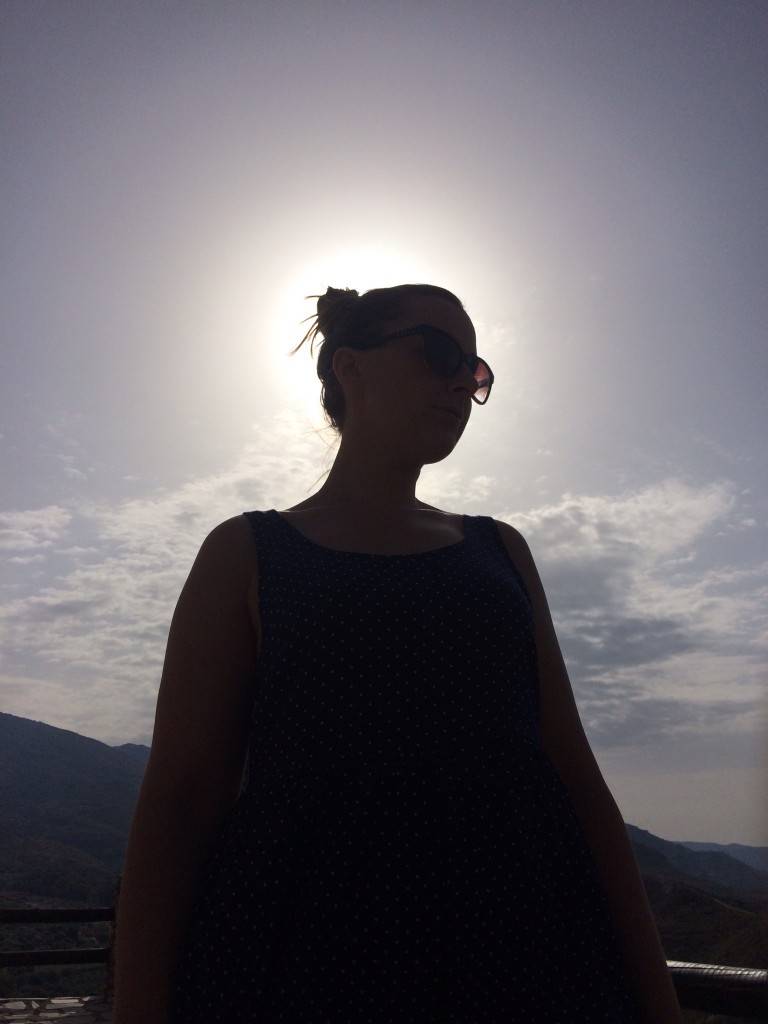
A good starting place is to take a photo of someone with an over exposed background. To do this, have your subject stand with the sun and a clear sky behind them. Like so:
.
.

.
.
Next, import the image into Snapseed (Android and iPhone) and use the selective adjust function to “white out” the background by putting the brightness, contrast and saturation at their extremes:
.
.

..
.
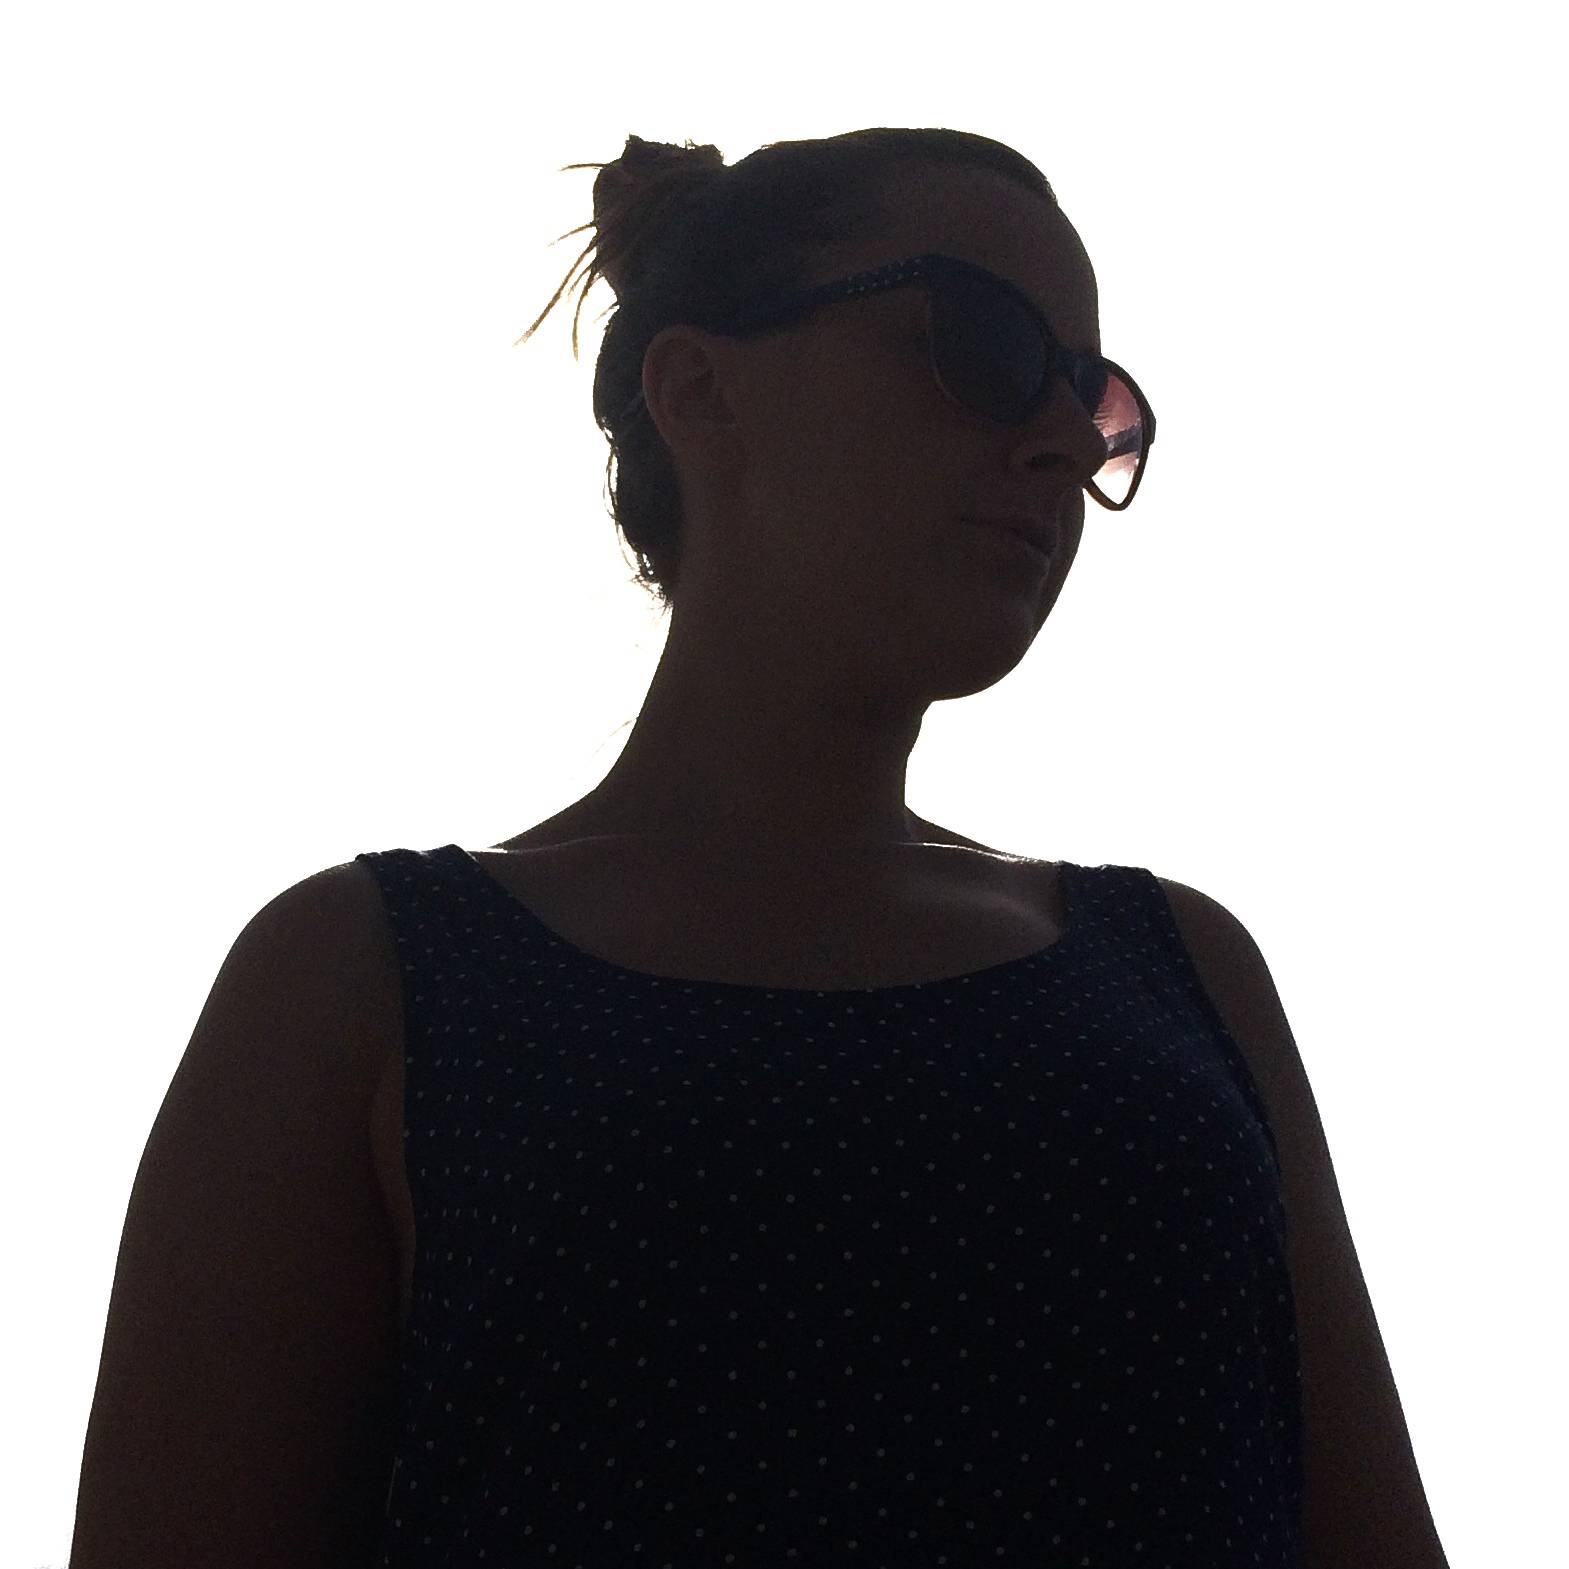
You may need to do this several times until the background is completely white. When you’ve done so, crop the image to whatever size you like and you should end up with something like this:
.
.
.
.
Next, import the cropped image into any image blending app.
I use image blender (only for iPhone, but here is something similar for Android) for this type of edit as it has a lot of blend modes to play with but it’s also very easy to use. Especially for quick edits.
.
.
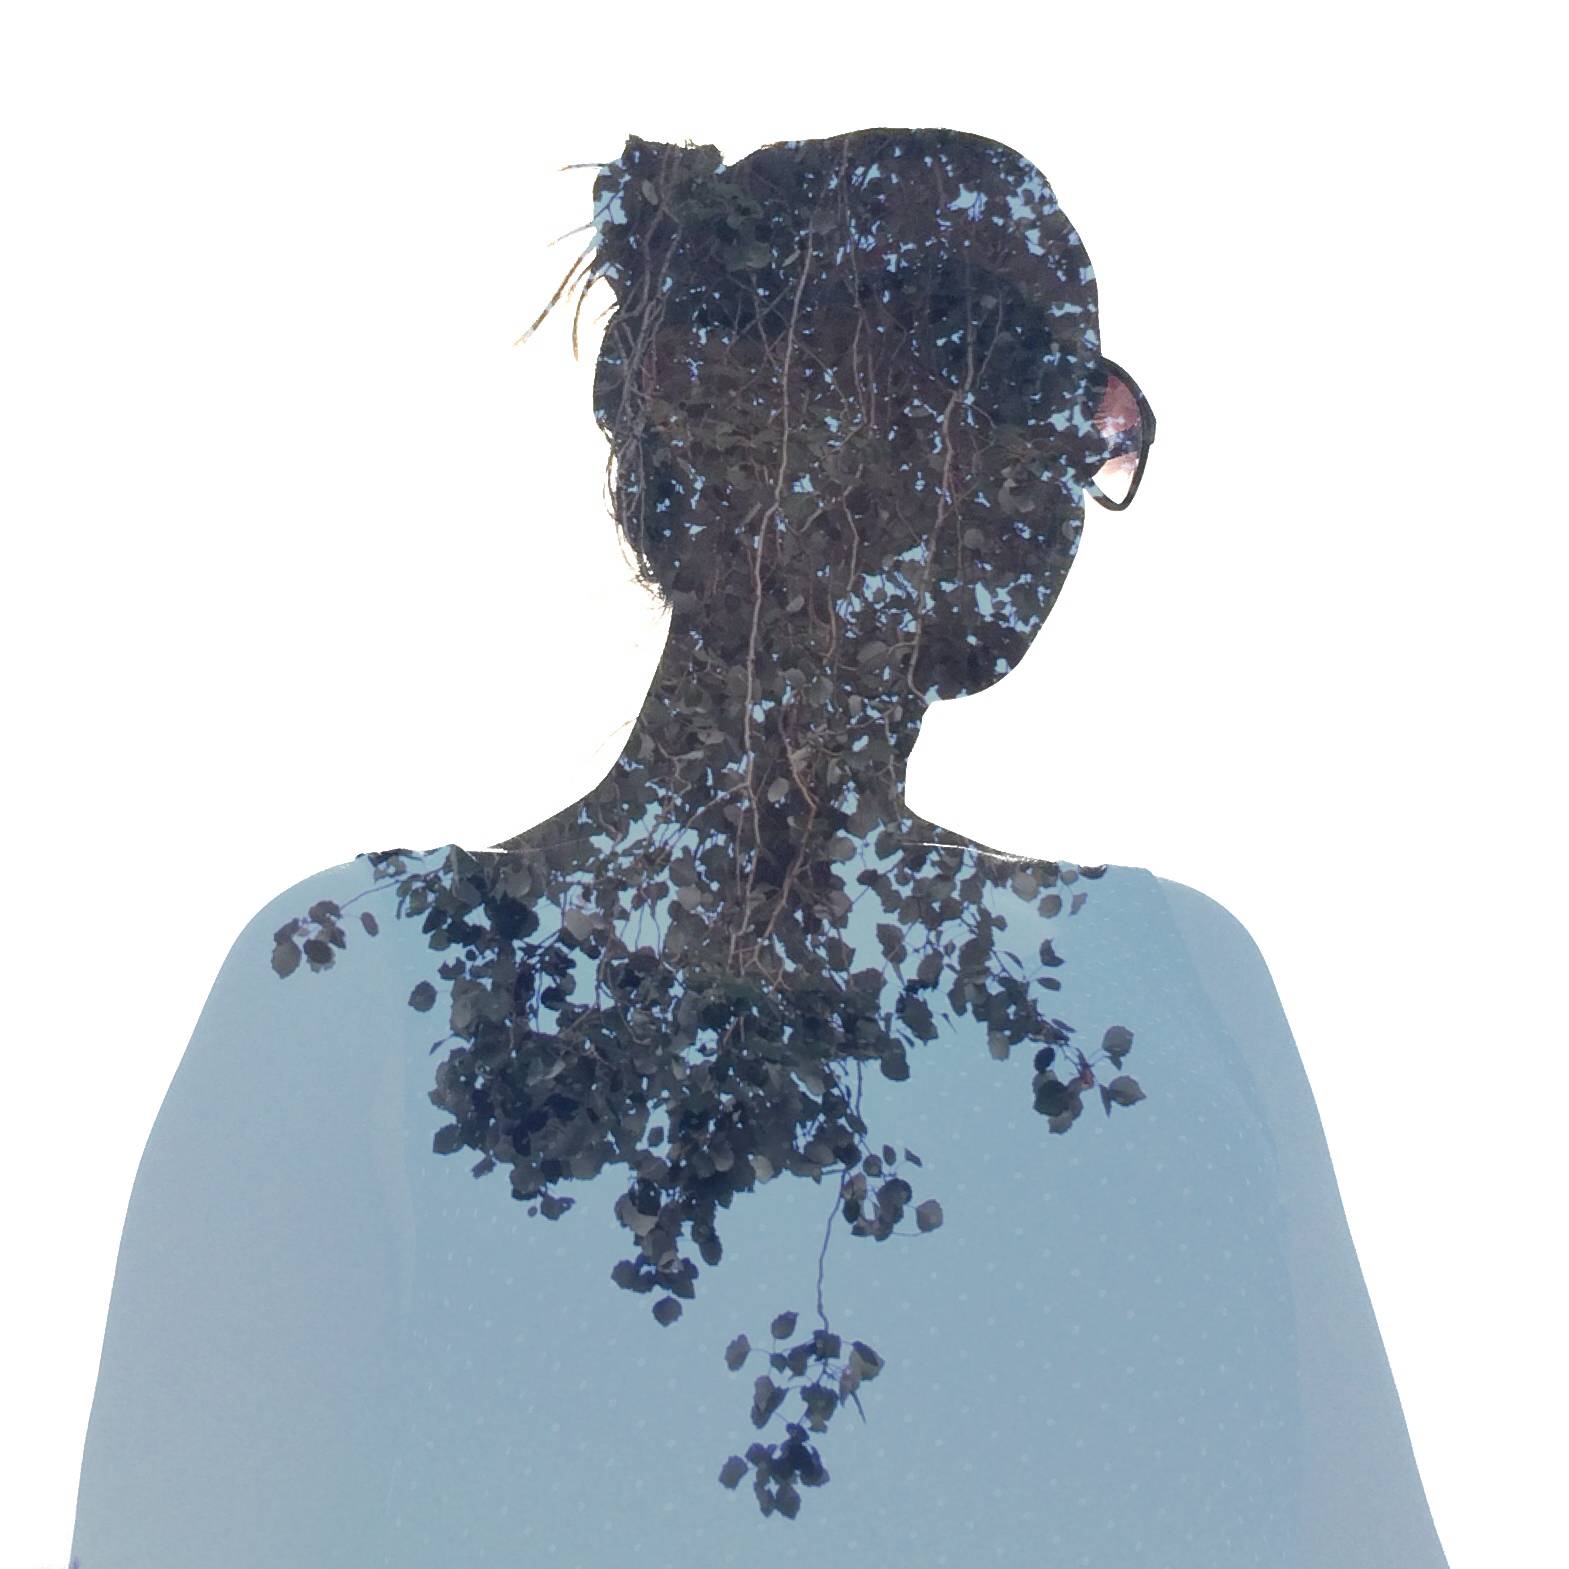
Select the image you’d like to blend in create the double exposure and change the blend mode to “screen”, making sure the slider is all or most of the way up. Et voilà! A double exposure!
.
.
.
.
.
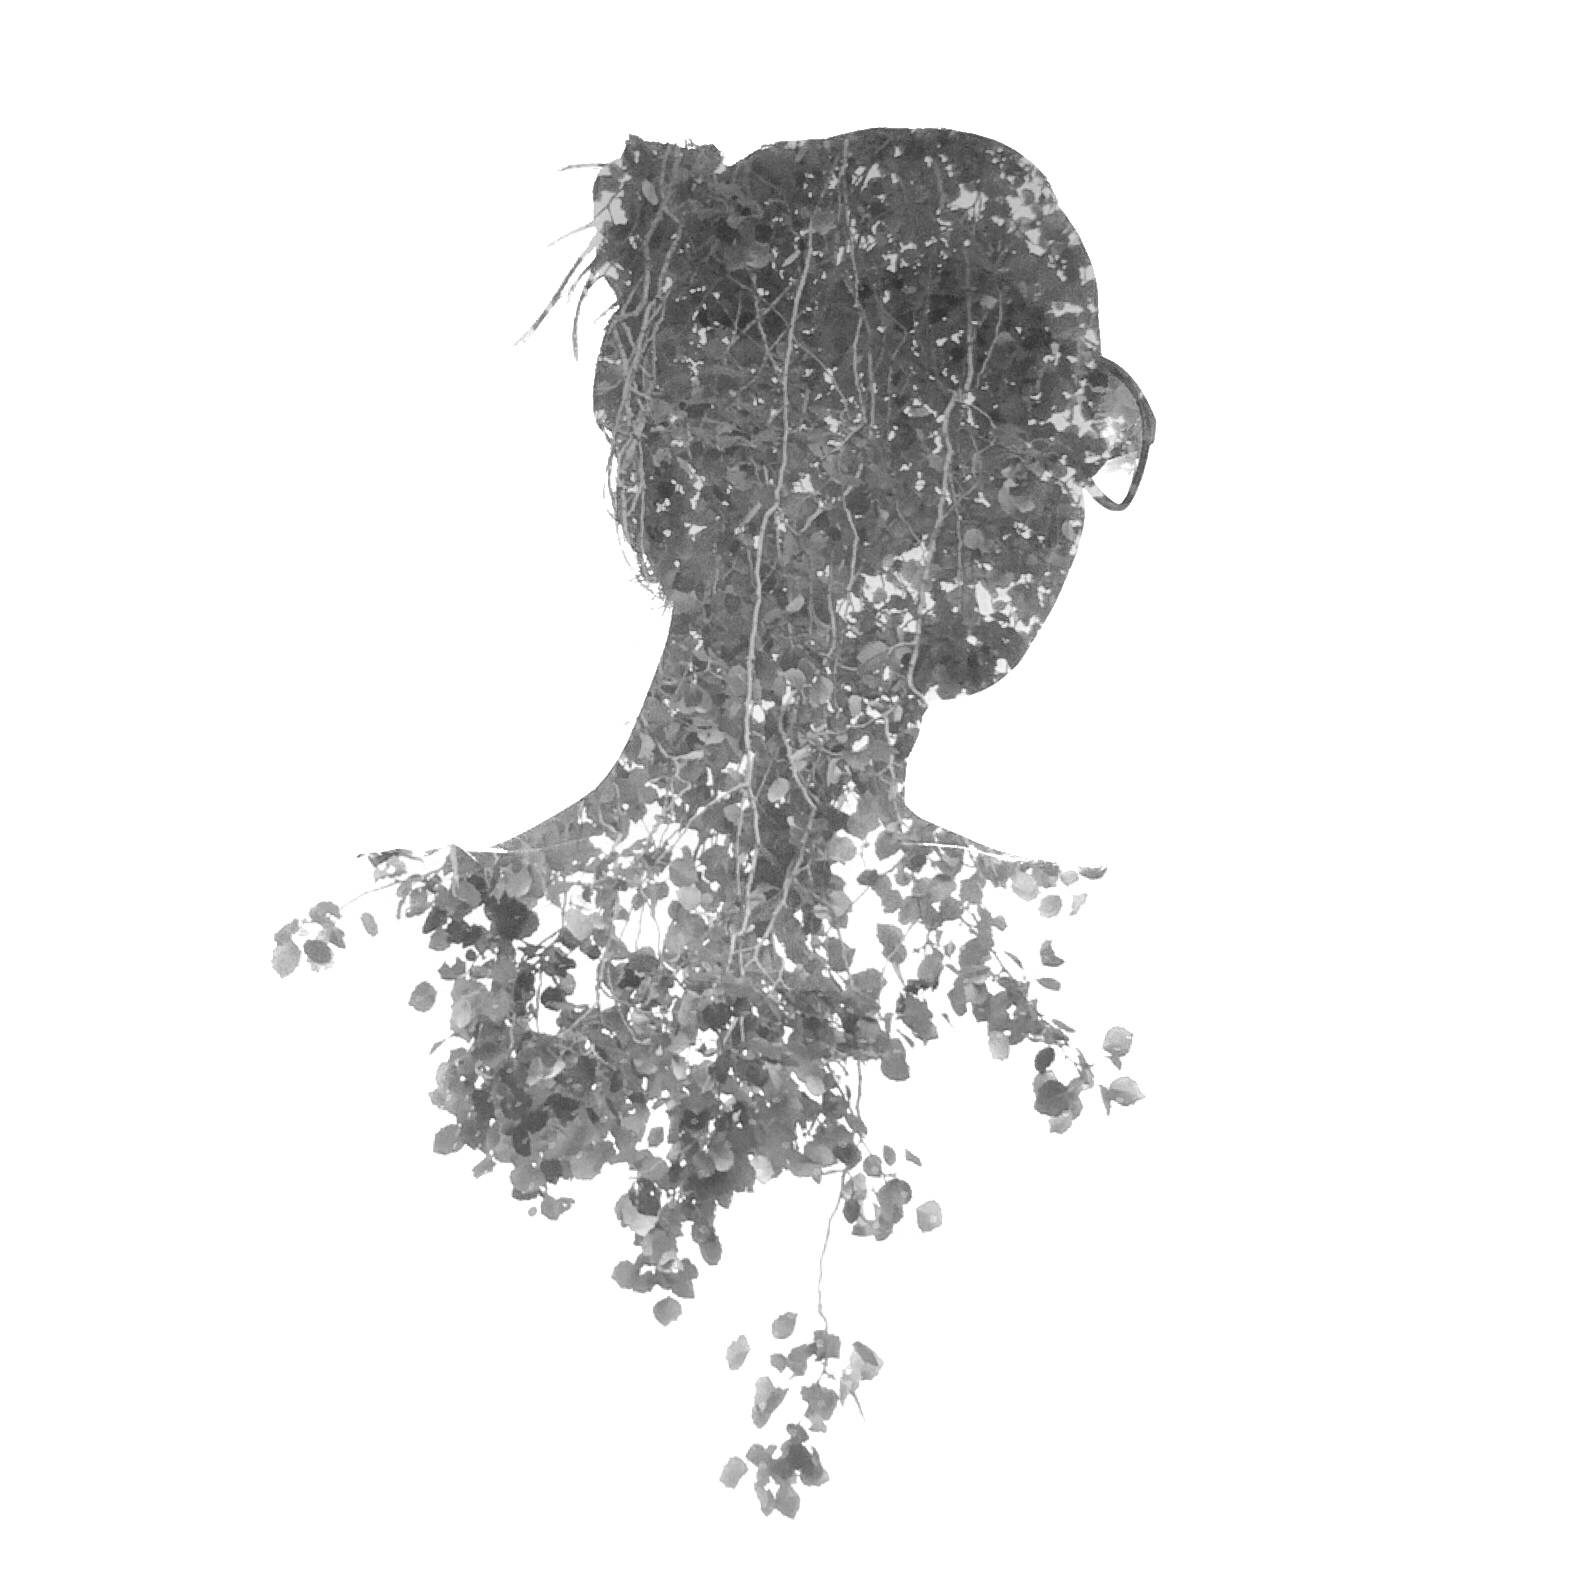
If you’re wondering how to get really creative you can flatten the image, save it out and import it back into snapseed to get rid of the blue sky part by, again, placing the selective adjust functions at their extremes, like this:
.

.
.
The finished product will look like this:
.
The key is to play around and have fun!
.
.
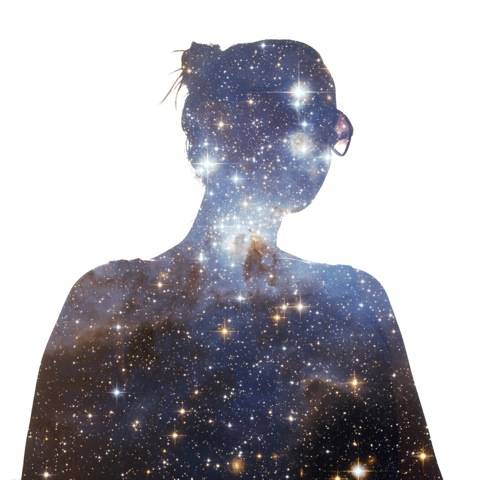
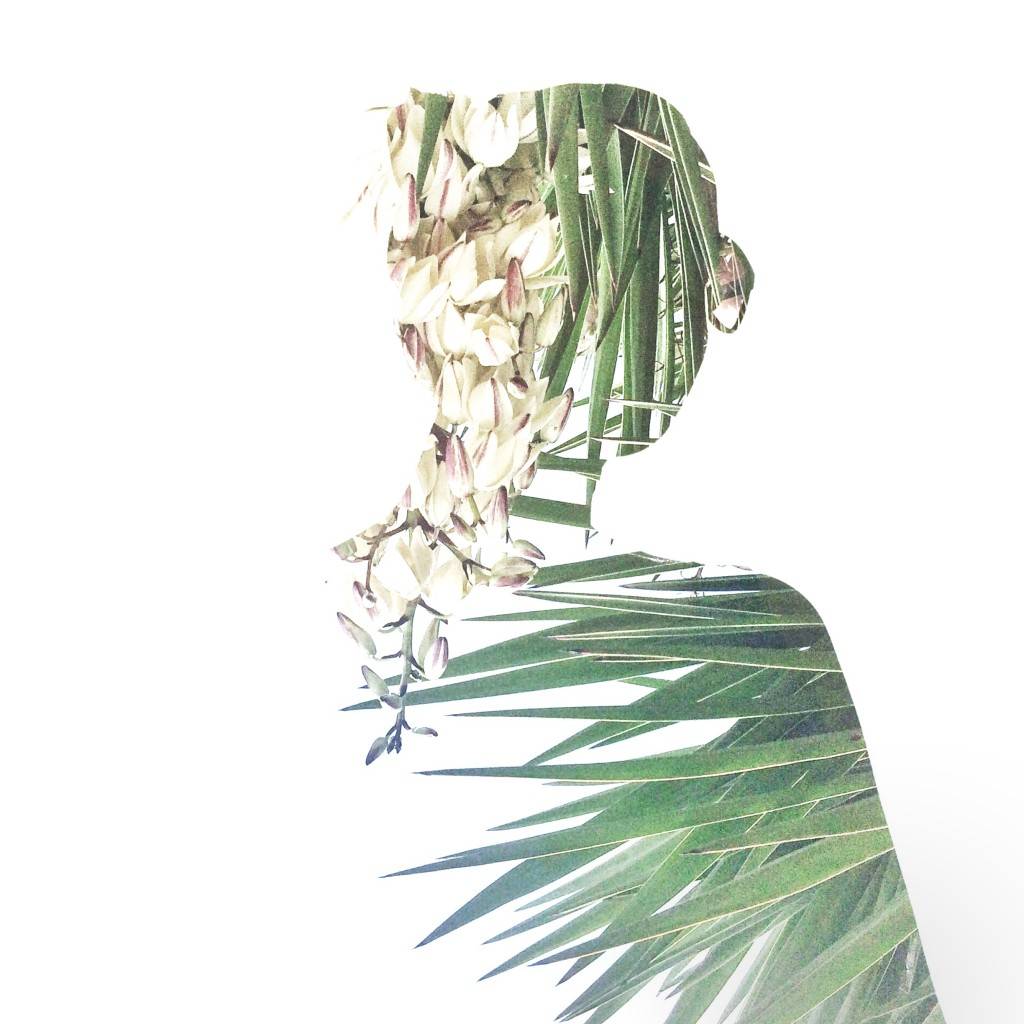
Here’s some more examples of the type of styles you can achieve by doing this:
.

.
.

.
.
.
.