How to use Tilt Shift in Instagram?
.
Like me, you’ve probably seen it many times before: Tilt Shift.
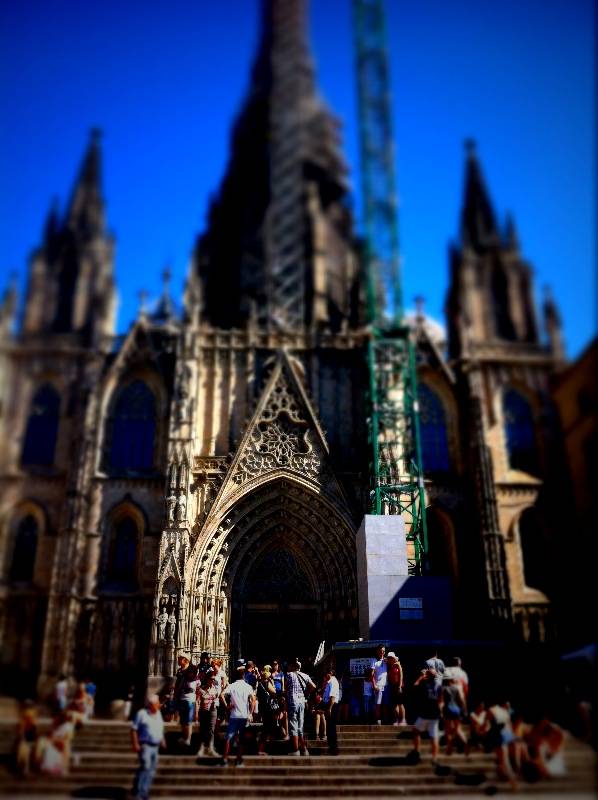
You’ve probably seen it in photos taken with an SLR camera. What you might call “professional looking” photos. And I loved it at first sight. A figure in the foreground in focus, the protagonist, very important… Behind, a fading world full of buildings, trees and passers-by as secondary actors. And then, those other photos where cars and people seemed to exist in a model village. All, thanks to the magical effect of blur, strategically placed in the foreground and background of an image. I never thought I could make this miracle come true, this incredible mirage that is Tilt Shift, only with my little Iphone. But yes, it’s simple! And easy!
.
Several editing apps offer Tilt Shift and their results are amazing. Here are three.
.
The application “par excellence” to create this blur effect is TiltShiftGenerator.
The free version of Tilt Shift Generator App only gives you the option of taking a photo and applying the effect in “real time”. It takes the picture with the native camera and automatically applies the effect. The premium version allows you to choose a photo from our camera roll and apply a blurry effect. You can get very good “miniature effects” with Tilt Shift Generator.
.
.
Another app with a good Tilt Shift function is Snapseed
With Snapseed, as well as applying the effect on the part of the photo you want to edit (thanks to a linear or elliptical form), you can choose the level of blur, which gives an added value to the editing effect. In my opinion, a soft blur is always better than a very strong one, because most of the time, the transition of the focusing blur is too “abrupt” and gives a slightly exaggerated “window” effect.
.
.
What offers Filterstorm is much more than the rest of the apps.
Filterstorm app allows you to “paint” the “blur effect” wherever you want. So you are not limited to a straight or circular area as in other tools. This means you can completely blur the background and leave only the main subject in the foreground in focus; the downside to this is that you have to be very careful to avoid the look of a figure pasted onto a blurred background.
How do you avoid this? Discretion is important. The transition of a focusing blur may not be very sharp. You must keep a natural look, and above all, zoom in close to do your “painting” of the “blurry area” so it doesn’t overlap with the focused part. Even if an image is well composed and edited, it can be ruined if the edges of the subject in the foreground are fuzzy.
.
.
The easiest way to achieve a really good Tilt Shift is probably the “native” Instagram tilt shift filter. When uploading the photo, you can apply a blur effect in two ways, “linear” or “elliptical”, and apply it just in the area of the pic you want to. The best part, is the ability to move the editing effect area just with the finger from one part to another part of the picture, and the result is usually very good and natural.
.
Hope you found it interesting!
See you soon, Igers!
Romina Vallés aka@schneider
Romina will collaborate with Instagramers.com in future posts around edition tips and Instagram. Thanks @rugfoot for the help in translation.


